
...the two body bolts in the trunk corners and the seat belt anchors. At this point, we should have also removed the bumper brackets, but we left that until the car was up in the air.
Next, we drilled out all the rivets that attached the old torque box to the floor...

...the rivets that hold the outer rocker rail were left in place since that piece of the old torque box remains.
As can be seen in the above picture (detail below), the nut plate to hold the left front corner of the seat was broken out and long gone.

This is also a common occurrence with many Avantis. Classic fabricates a piece that enables you to fix this from the cockpit, but with the torque box removed, it is possible to make the repair from underneath the car as original. We chose to do this once we had the old torque box removed.
We removed (or rather broke off) the old body bolts holding the torque box to the outriggers. Paul made quick work of removing the old torque box with the combination of an air powered die grinder and an air chisel.


The old torque box (or what was left of it) came out in pieces...but it came out.
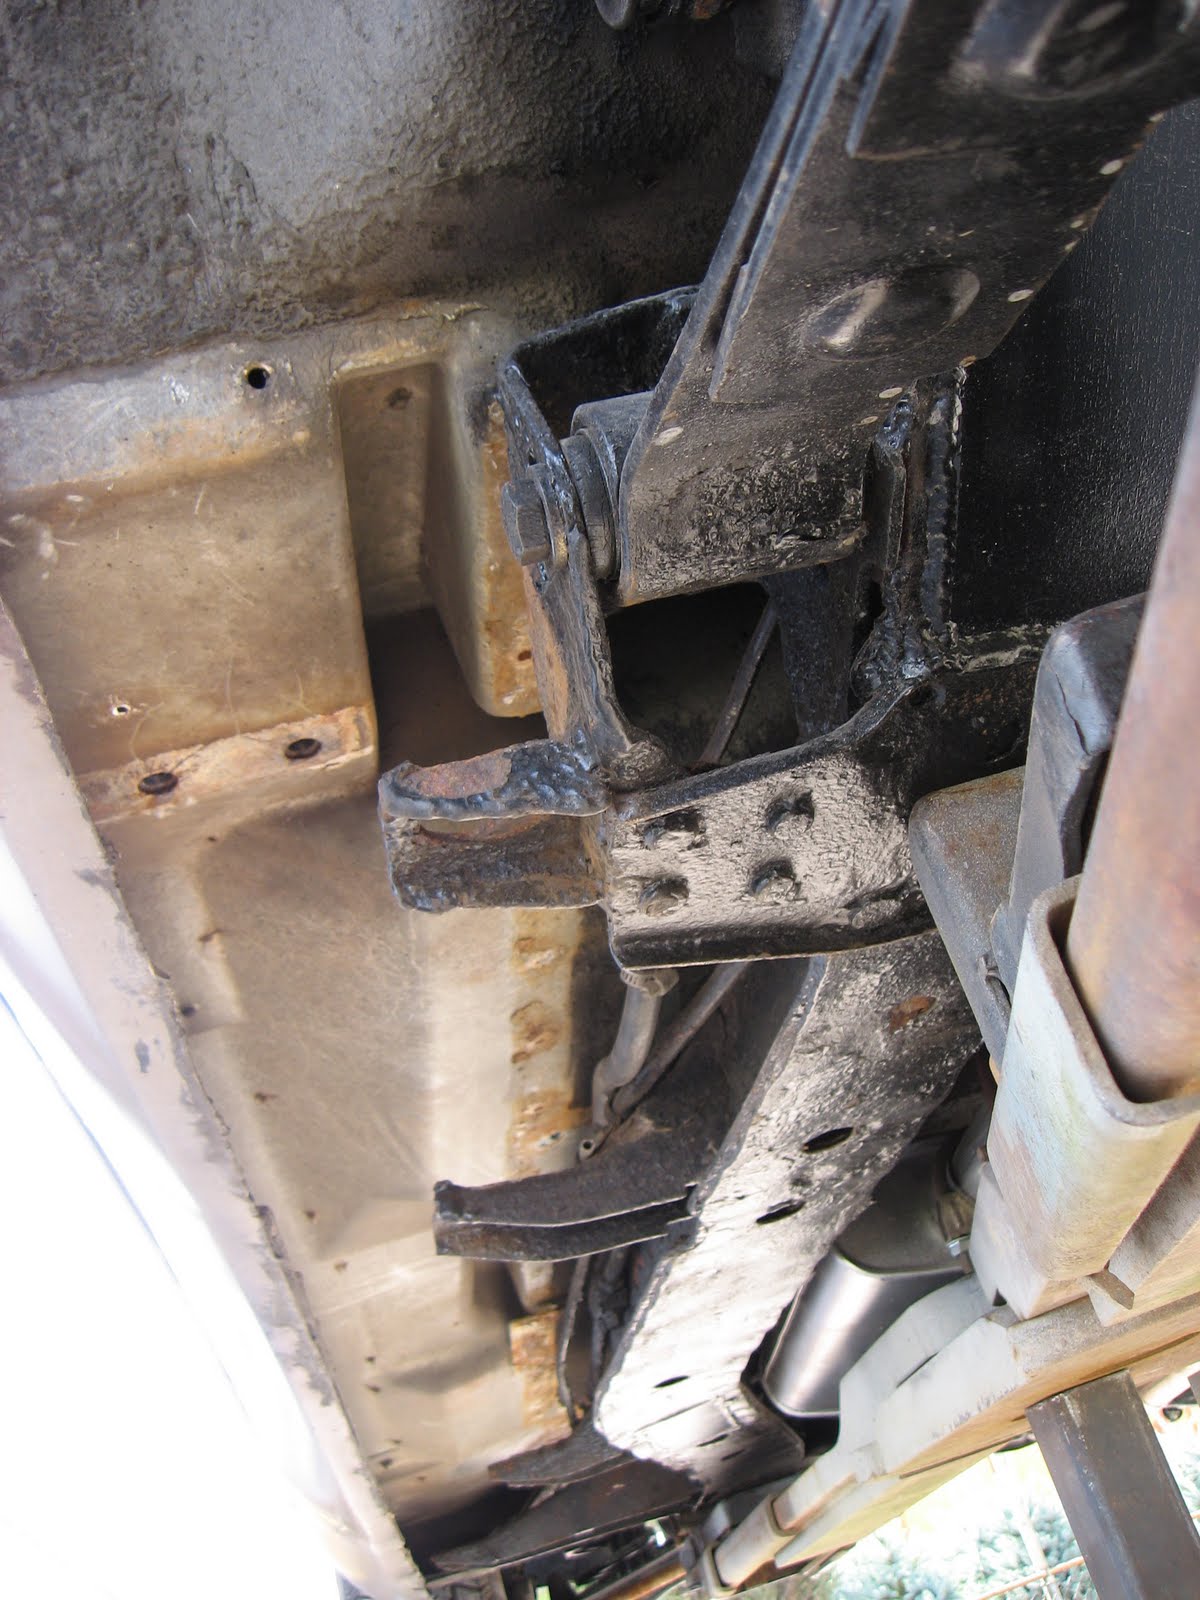
No need to raise the body off the frame at this point.
Save all the shims and mark where they came from.
Leave as much of the old rocker rail in place as you can. Ours was pretty rusty, but solid enough near the top to give us good metal to rivet the new rocker rail to...

Next we drilled out the bolt stubs at the roll bar bulkhead and retapped the holes.

Now is the time to repair that torn seat attachment point at the left front corner
Paul fabricated a new nut plate using heavy gauge sheet metal...

We coated it with two part panel adhesive, then installed it from below, located it properly in the torn opening, cinched it into position using a bolt, then riveted it to the fiberglass seat riser just to make sure...

We left the bolt in place until the panel adhesive was dry.
Car Seat Sepairs Surrey I like your concept
ReplyDeleteWe specialise in leather furniture repairs to all kinds of leather furniture, lounge suites, sofa etc and can effectively repair the results of scuffs and scrapes, cuts and tears, burns, pet damage, nail polish spills or supergluespillage and Colour discoloration caused by clothes dye or sunlight.
Nice post love reading it
ReplyDeletebiker clothing
Leather Jackets
This blog is really helpful to deliver updated educational affairs over internet which is really appraisable. I found one successful example of this truth through this blog. I am going to use such information now.
ReplyDeleteรับขนส่งรถยนต์
Fantastic!Very nice information for viewer and this post surely give some useful tips to the readers. Car carpet in Oshawa Ontario
ReplyDeleteBoat covers in Oshawa Ontario